前回、Djangoを構築してトップページをBootstrapのテンプレートを使用して表示させました。

今回は、Djangoで新たに新規のページをカテゴリで分け、追加する手順をまとめました。
それぞれのhtmlファイルは「simple-sidebar」のテンプレートを使用しています。
【Django】新規ページの作成方法と設定手順
今回のDjangoでの新規ページの作成は、単純にテストというフォルダ配下にページを作成し、表示させるようにします。
作成するページはいかんおアプリケーションの構成を参考にしてください。
アプリケーションの構成
全体構成は以下となります。
$ ll
-rw-r--r--  1 root             root  147 Apr 28 16:17 Dockerfile
drwx------ 19 systemd-coredump root 4096 May 22 15:14 db-data
-rw-r--r--  1 root             root  955 May 18 16:43 docker-compose.yml
-rwxr-xr-x  1 root             root  626 May  8 15:54 manage.py
drwxr-xr-x  4 root             root 4096 May 30 12:02 myhp
drwxr-xr-x  3 root             root 4096 May 26 19:52 mysite
-rw-r--r--  1 root             root   42 May  7 18:39 requirements.txt
drwxr-xr-x  3 root             root 4096 May  9 12:57 ssl_certs
drwxr-xr-x  4 root             root 4096 May 23 14:57 static
drwxr-xr-x  3 root             root 4096 May 26 20:02 templates
前回記事同様、新規ページを作成する個所としてアプリ側を編集します。
$ tree myhp/
myhp/
|-- __init__.py
|-- __pycache__
|   |-- __init__.cpython-38.pyc
|   |-- admin.cpython-38.pyc
|   |-- models.cpython-38.pyc
|   |-- urls.cpython-38.pyc
|   `-- views.cpython-38.pyc
|-- admin.py
|-- apps.py
|-- migrations
|   |-- __init__.py
|   `-- __pycache__
|       `-- __init__.cpython-38.pyc
|-- models.py
|-- tests.py
|-- urls.py
`-- views.py
今回作成するページは「test」配下に「test1」と「test2」というページ、「app」配下に「app」というページを作成します。
$ tree templates/
templates/
|-- index.html
`-- test
    |-- app
    |   `-- app.html
    |-- test1.html
    `-- test2.html

$
すでにトップページは作成されて、「templates」配下のindex.htmlのページが表示されているものとします。
設定は上記のページを参考にしてください。
新規ページのフォルダを作成
今回は、「test」フォルダとその配下に「app」フォルダを作成します。
$ mkdir test
$ cd test
$ mkdir app
新規ページを作成
$ pwd
/docker/www/django/templates
$ cp -p index.html /test/test1.html
$ cp -p index.html /test/test2.html
$ cp -p index.html /test/app/app.html
コピーしたそれぞれのHTMLファイルを編集しますが、今回はどのページかわかりやすくするために以下の「h1」の記述を変更しておきます。
以下は「test1.html」の編集例となります。
$ vim test/test1.html

------中略------

      <div class="container-fluid">
        <h1 class="mt-4">Test1</h1>

------中略------
「urls.py」を編集
アプリ側のurls.pyを編集します。
$ vim myhp/urls.py
from django.urls import path
from . import views

app_name = 'myhp'
urlpatterns = [
    path('', views.index, name='index'),
    path('test1/', views.test1, name='test1'),
    path('test2/', views.test2, name='test2'),
    path('test/app/', views.app, name='app'),
]
それぞれ、「test1」、「test2」、「app」ページへのパスを作成します。
views.pyと紐づけるためそれぞれ「views.xxx」を指定します。
「view.py」ファイルを編集
Djangoの「view.py」はフレームワークの「Controller」と同等の働きをします。
以下では、それぞれのページに上記urls.pyのnameと紐づけて該当のファイルを指定します。
$ vim myhp/views.py
from django.shortcuts import render

# Create your views here.

from django.http import HttpResponse
from django.template import Context, loader

def index(request):
    template = loader.get_template('index.html')
    context = {}
    return HttpResponse(template.render(context, request))

def test1(request):
    return render(request, 'test/test.html')

def test2(request):
    return render(request, 'test/test2.html')

def app(request):
    return render(request, 'test/app/app.html')
上記で、新規ページの追加は完了しました。
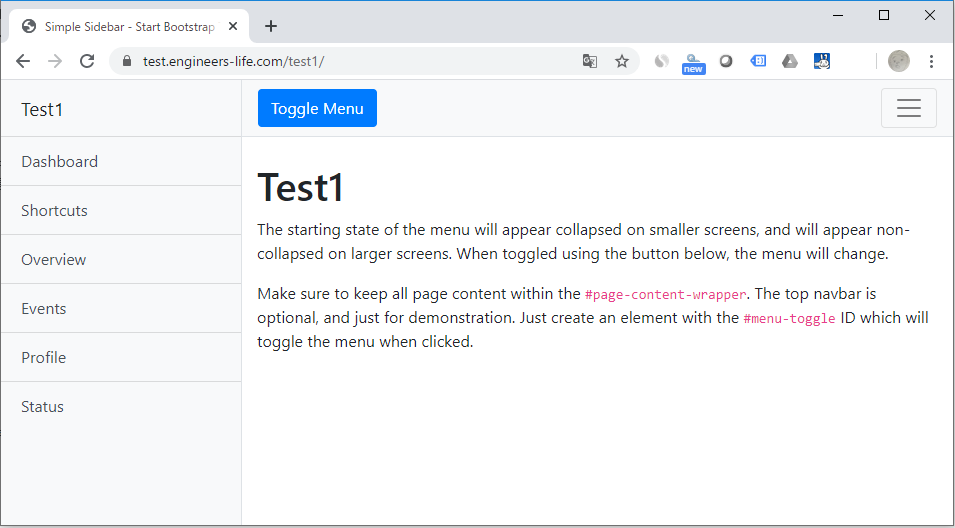
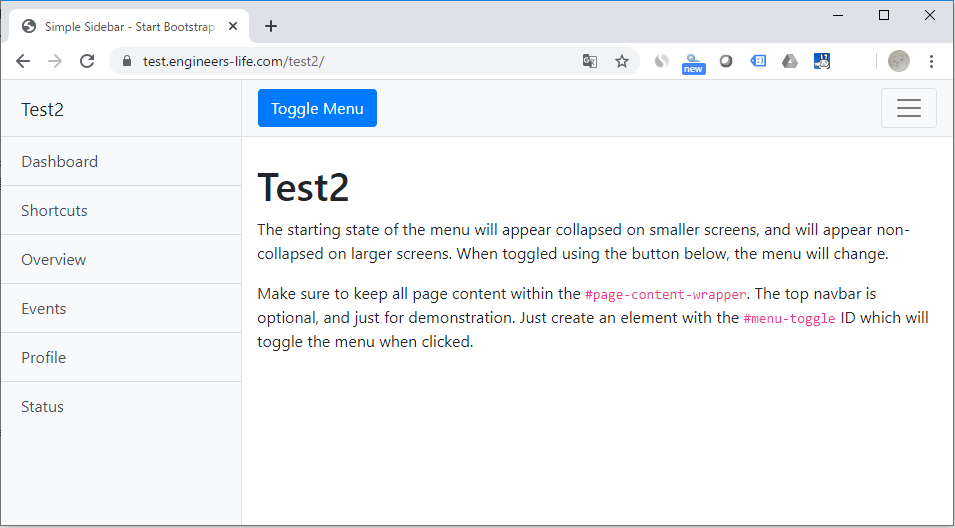
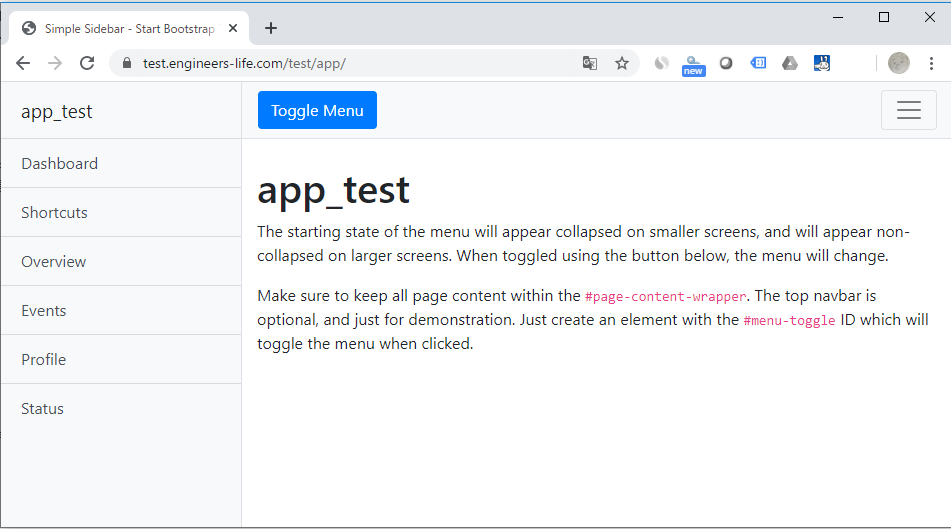
それぞれのページは以下となります。

http://xxxxxx/test1

http://xxxxxx/test2

http://xxxxxx/test/app
Djangoの新規ページ追加の手順は以上となります。
ITエンジニアの開発・検証・学習としてインターネット上で専用のサーバ(VPS)を利用しましょう!
実務経験はVPSで学べます。

コメント